DinePlan POS
DinePlan User Manual
- About the Manual
Dear Customer
You are looking at the manual for the DinePlan POS application, version 1.
If you have any questions while using the program, or the manual is not informative enough, please contact us on +65 63417144 or email us on [email protected]
We tried to provide the most common uses in the manual and show how all the basic operations of running a restaurant/Bar business are performed.
In addition to descriptions of the operations, you will also find real life examples, answers to frequently asked questions, a description of the DinePlan system, and other information which we believe you may find useful.
- Note
Options Described
Depending on the version of POS you are using, you may come across a description in the manual of a function you are not using on your premises.
Also, not all operations are available for all users. Some functions described in this guide may be unavailable for you. If you want to perform those actions you must ask your manager for help or for getting higher privileges in the system.
Prerequisites
This manual assumes that you are familiar with the basic concepts and procedures that are used and occur when running a restaurant/Bar business.
For Owners and Managers
We suggest you make sure your staffs are well trained. Both this manual and training in how to work with the software, assume that you have at least basic knowledge of the procedures and concepts of running a restaurant business. If some of your staff needs special training in the restaurant business, we can provide this type of consulting services.
Cooperation
If you have any comments regarding this manual as well as comments about how the software works, please let us know. Also, please let us know if you come across any errors in this manual or think some of the descriptions are not clear enough.
We thank you in advance for all your suggestions and ideas.
- DinePlan Architecture
- Application
The DinePlan System consists of several components that together enable the smooth operation and complete insight into your Restaurant business.
- DinePlan Backoffice
BackOffice is the centre of the DinePlan system at the restaurant. This is where all system parameters and applications are set up, where the items are updated, where the finances are reviewed, and where the warehouse is managed.
DinePlan system is normally set up in such a way that only the owners and managers have access to the BackOffice application.
6. DinePlan POS
DinePlan POS applications are waiter (desktop, Tablet and mobile) applications that are used to record transactions, create and issue orders, invoices and daily reports. This guide will cover those operations.
7. DinePlan POS ANDROID
DinePlan applications available for Android devices are Live, Fly, and Analytics.
Live is app for managers that allow you to track operations in real time. You can quickly see what is going on in your restaurant, see the turnover, see what the waiters’ task were s, what the orders were, what was billed, how many item were sold and whether anything was cancelled.
DineFly is a POS mobile application that behaves like the standard DinePlan POS application. It is often used in larger establishments, in bars with patios, as well as smaller venues where it can fully replaces the desktop POS application.
Analytics is an application that provides owners with an analysis of their business operations.
8. DinePlan POS PANEL
DinePlan POS panel is a communication service between different application systems. You don’t actively use this service, but you should know that it is there, and that it needs to be operational in order for the entire system to work properly.
For this reason, usually everyone (except our Support Team) has restricted access to the POS panel.
Fiscal Devices & Printers
Depending on the business and the size of the restaurant, DinePlan can be connected to a number of fiscal devices and kitchen printers. A driver (software) has to be installed for each fiscal device to allow communication between the program and the printers.
9. User Interface
9.1 Logging In
DinPlan POS is launched via the corresponding icon on your desktop. Selecting the option is performed with click, double click (in the lists) or by pressing the button on the screen.
If you do not see this icon on your desktop and you do not know how to find where DinePlan POS was installed, ask call our Support Team.
After launching, a main application window will appear. In order to start the application you have to key in password and click on double arrow to log in to the DinePlan POS.
DinePlan POS is working smoothly with both standard input devices (keyboard and mouse) or on touch screen monitors.
When there should be made input you could do this by using standard keyboard but you will always have an option to show screen keyboard so you can make input on the screen or by mouse only. Sometimes, screen keyboard will pop up automatically.
After successful login, main window, which represent Front Desk, Back Office, Work Day, POS, Tickets and Logout is opened.
9.2 Workday
Ewtertetr
Fdsgfsfd
9.3 Start Workday
Fyoiju
Yfjgkhlkjhk
Jhlhjhlkkj
Click on OK to start work day. This will also enable End Work Day and Start work shift options. If you see POS is still disabled. To enable the POS you need to start work shift.
Click on Workday again for work Shift for the day.
9.4 Work Shift
Click on work Shift to work shift for the day.
Once you click on work shift, the next window will show you previous work shift details. And option for Start Work Shift. Click on Start Work Shift to start new work shift.
You already clicked on Start Work Shift, now you need to key in the float money for the shift and update in to system by clicking on Start Work Shift option.
Finally, POS is enabled to start operations.
9.5 End Work Shift
In order to end the work shift, you have to complete the entire task, close all the tickets. Don’t keep anything pending.
Click on the work day to open Work Shift window.
Click on the End Work Shift option. This will give an alert “Do you want to end your work Shift”.
Click Yes to close work shift and No to continue with operations.
Now, this is a time to count your till/drawer’s cash and tally in to the system.
If you have exact amount as shown in the system then just click on double arrow head to key in the amount.
If you have less/more than the amount shown in system then key in the amount & click on End Work Shift. It leads to end of work shift and disable the POS.
9.6 End work Day
In order to end Work Day, Click on the Work Day to open Work Day Window.
Now, Click on End Work Day to end the work day. It will give you an alert “Work Day ends. Visit Reports Section and Create Work Day Reports”. Click on Ok.
10. POS Operations
10.1 Area & Table Layouts
We can design representation of your restaurant floor plan and table layout (or some part of it). By choosing tables on the screen you will make orders. Please, refer to Orders section if you want to know how to make an order.
Area
One POS application could work with several layouts (areas in restaurant) and that depends on your restaurant and system configuration. Switching between those layouts is made by simple click on preferred layout.
Such as any other setting, look and layout of tables of any area are defined through DinePlan BackOffice.
10.2 Quick Orders
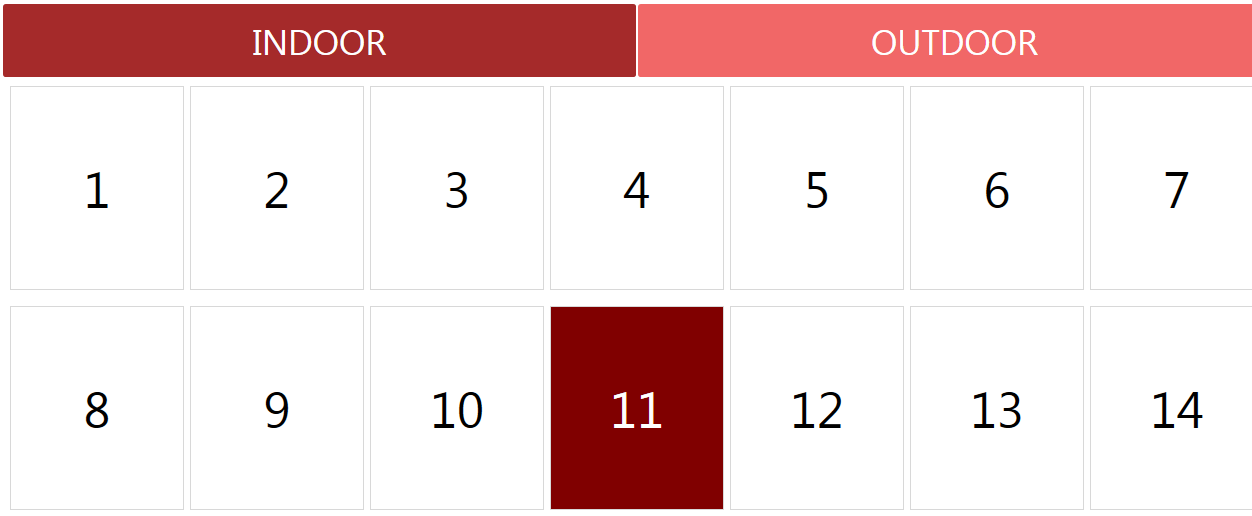
Every occupied table shows waiter and current charged amount info. Tables on the layout could be marked with several colors:
1. White – free table
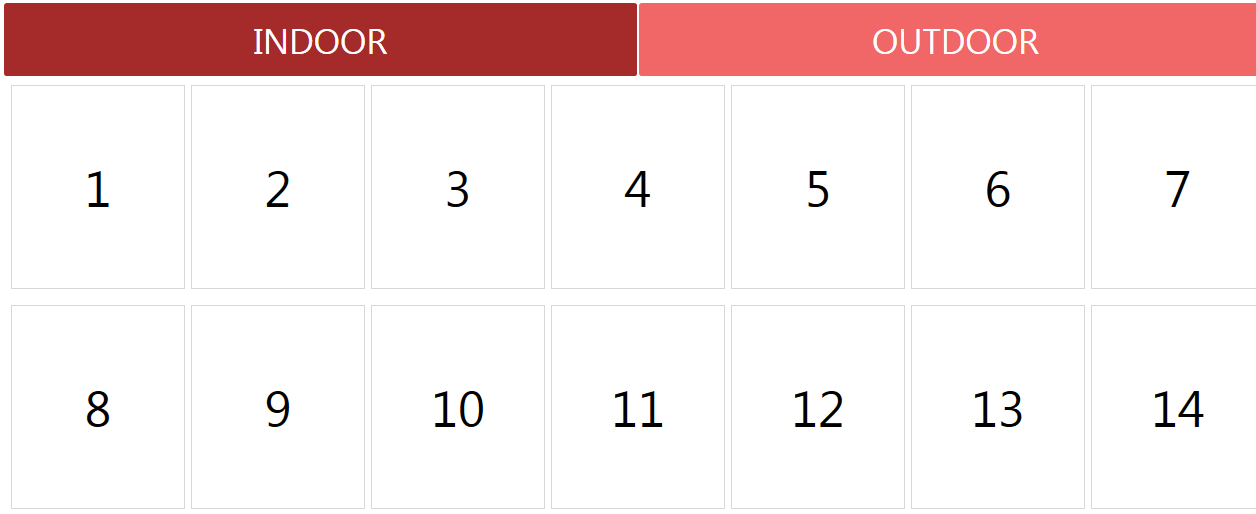
2. Green – occupied table
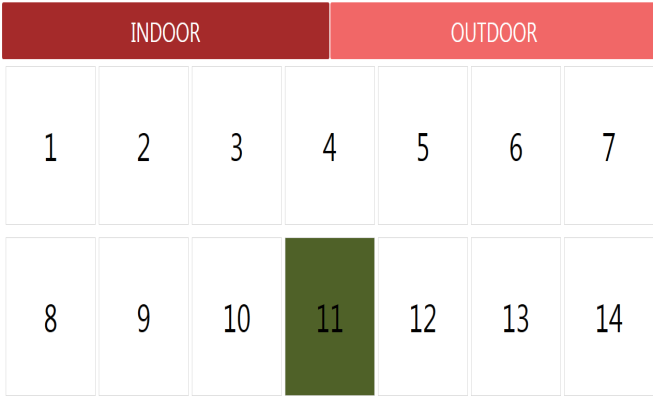
3. Brown – occupied but ready for payment collection (subtotal has been made). Bill printed also.
10.3 Making Orders
Selecting table opens a window for orders (Order Screen shown below).
Order windows have a several sections:
- Info

Here you can find information about:
- Table number
- Order number
- Status
- Users
- Time
- Items
Place where you select items for orders.
In the upper part are buttons for item groups and subgroups.
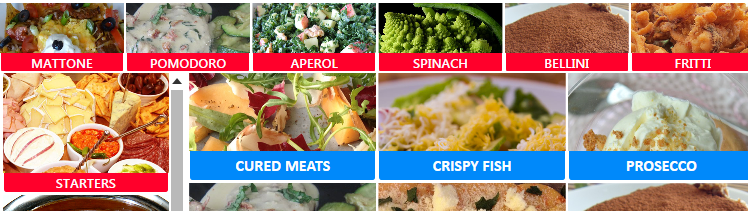
Note :
Layout of item buttons as well as grouping is defined through Backoffice.
If you think your items should be arranged and grouped in some other way you should do it through Backoffice app or talk with your manager or system administrator.
After selecting an item it will be added on the left side, in the order preview.
Prices that are show are prices from current pricelist.
- Current orders
Lists all items with their prices, order subtotal, waiter charged and order timestamp.
- Edit order operations
If users have a sufficient access rights they can edit the order operations. Such as
Cancel Item
It will delete selected item form the order.
If order has already been issued confirmation dialog will be shown. Before cancellation you will have to input the reason for cancelation. If cancelation is disabled, you will have to ask your manager to perform this action.
Cancel Order
It will cancel complete order.
If order has already been issued confirmation dialog will be shown. Before cancellation you will have to input the reason for cancelation. If cancelation is disabled, you will have to ask your manager to perform this action.
Edit Item
If you need to change the quantity of selected item you can do it by selecting item on the right or you can change the quantity through this option. Also you can give additional discount, add some comments or change the course in which item should be prepared and served.
Edit Course of item
On this picture you can see the option for changing the course. It is available only for restaurants which are using this option. Available courses are defined through Backoffice.
Repeat Order
It will repeat last order and it is available only when ordered has been issued.
- Discounts & Free Items
Free/Gift item
Select item from ordered item list and click on the gift option available in the left side.
Cancel free/gift items
Select the gifted item from ordered item list and click on the Cancel gift option available in left side.
Discounts
This option will add global discount for all active orders on selected table.
You can give discount in percentage say 5% or 10% by entering the discount percentage by clicking on red highlighted button say 10 and click on Discount % button.
You can give discount in amount i.e. fixed discount of $10 or $15 by entering the discount amount by clicking on red highlighted button say 15 and click on Discount button.
- Order & Receipt operation
Issue Order
After the order is issued slip will be printed on the POS printer and you can continue with other orders. If the restaurant is set up in that way, separate receipt will be sent to different departments (kitchen, bar etc.) so everybody can start with order preparation.
Close
It will bring up to the table layout so you can make other orders.
Change Table
In order to change the table, you need to select a table that you want to change.
It will take you to the order window. Click on change table.
It will take you to the table layout where you can select the table where you want to change.
Merge/Combine Table
In order to merge or combine two tables, you need to select a table that you want to change. It will take you to the order window. Click on change table. It will again take you to the table layout where you can select the table with that you want to merge.
For example : Combine/Merge table 7 with table 11.
Click on table 7. Go to order screen. Click on change table option in to top left corner. Click on table 11. This will combine table 7 into table 11.
Click on the table 11 to merge order no. 14 of table 7 to order no. 18 to Table 11.
You can see below the merged Orders & items.
Ticket Note
You can write special note about the order by clicking on ticket note.
Bill & Receipts
- Print Bill – Print a bill and give to customer to validate the items and make the payment.
- Reprint Bill – You can reprint bills if required.
- Split Bill – In order to provide separate bills to each customer, you can split single the bill into multiple bills based on the items.
Select the items and click on settle to split the bill based on the selected items.
- Print Last receipt – Just click on the print last receipt option to print last receipt.
Cancellation & Clear
- Cancel – This option is use for cancelling the previously ordered items from the order list.
Select the items and click on cancel to cancel the previously ordered items from the order list.
- Move – If you want to move the ordered items from one table to another table.
Select the ordered items and click on move to move items. Then click on Chang table and select table.
- Void – Once you booked the order and want to cancel the item and also want to display in bill then choose a void option. Voice option strike out the cancelled items and keep them into the bill.
- Gift & Cancel Gift – In order to give certain item free, you have to select that item and click on Gift option to make it gifted item or free item in that particular order.
To cancel the gifted/free items – Select the gifted items and click on Cancel Gift to cancel.
- Clear – In order to cancel the entire order, you can click on Clear. It will clear the entire order and take you to the table layout to select table and book new order.
Price
- Fixed Price – You can define item price in the back office, Item master and it will automatically appear during order booking.
- Change Price – You can change the price of ordered items during order booking or bill settlement provided you have sufficient rights to do so. Or you can contact your manager or system admin who has superior rights change the price.
- Price for Add-on items – In order to have extra ingredients or sub-items to be added in to the ordered items. You may charge them extra and add the price in to the main item price.
To do so, Click on the ordered item. Key in the name of add on item, price you want to charge and click on add option. Name of the added item will display below the main item and price will be added into the main item price.
- Refunds – You can refund the billed items in two ways.
Go to back office. Open all tickets. Check for respective ticket. Void the item and refund the money.
Another way is that you refer the customer receipt for the refund items. Make a new order for that item. Select the item and click on refund. Once you click on the refund, item price will show negative value and settle the bill by using cash option as you are refunding in cash.
Quantity
There are three ways to increase or decrease the quantity of the ordered items.
First, To select the item and click on + and – to increase or decrease the quantities.
Second, To click on the same item again and again to increase the quantity and select the item and click on cancel to decrease the quantity.
Third, To select the ordered item and click on Q+-. It will give you all the 3 options to increase or decrease the quantities or add predefined quantities.
New Order
- New Order – Select a table and book an order.
- Serve Later – Select the items from order list and click on server later option to serve later. These items will be removed from the order list and park aside. Status changed from submitted to serve later.
- Serve Now – Select the serve later items from the order and click on the serve now option to prepare the items and serve to customer. Status of serve later items changed into new.
Tickets
- Ticket Note – In order to write an additional note about the order, you can click on Ticket note. Write note and click ok. It will display in the order as shown below.
- Add Ticket – In order to have two different tickets for two different customers sitting on the same table, you need to click on the add ticket after the first order is submitted.
Book the first order and confirm, the grey color changed into red. You can see the add ticket option appeared on the confirmed order.
Now you can click on the add ticket to book order for another customer on the same table.
Now, you have an option to settle the tickets/bill separately or merge together as shown below.
Payments & Bill Settlement
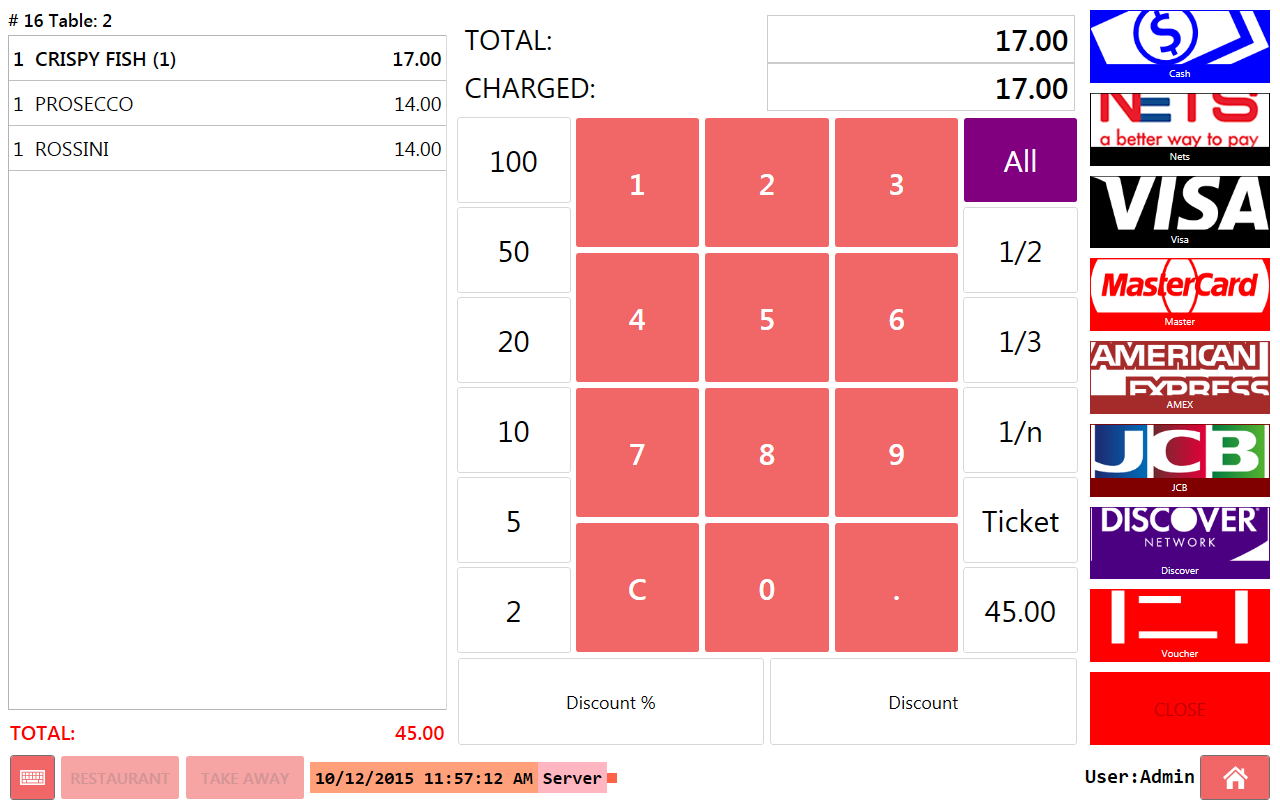
Payment types are defined through Backoffice and every restaurant has its own set of payment types and buttons that represent them. For example, on the picture you can see options that are used to collect the payments by NETS, VISA etc. and Dineplan is connected with the respective devices.
There are some standard built-in payment types such as: cash, card, complimentary, invoice, combined. Notice that they could also be removed or renamed during system set up.
All these functions are standard, intuitive and simple.
Pay separately
If guests at the same table want to pay separately then you can make a settlement of the of bill separately by selecting the item they consumed. For example – CRISPY FISH, as shown below. In this case separate payment will be settled but no separate receipt printed.
Bill & Pay separately
If guests at the same table want to have separated bill & pay separately then go to the ordered line items. Select the items he consumed and want the bill. Click on the settle option available on the left side. Collect
payment and do the payment settlement as shown below-
Whole order, bill and payment settlement
